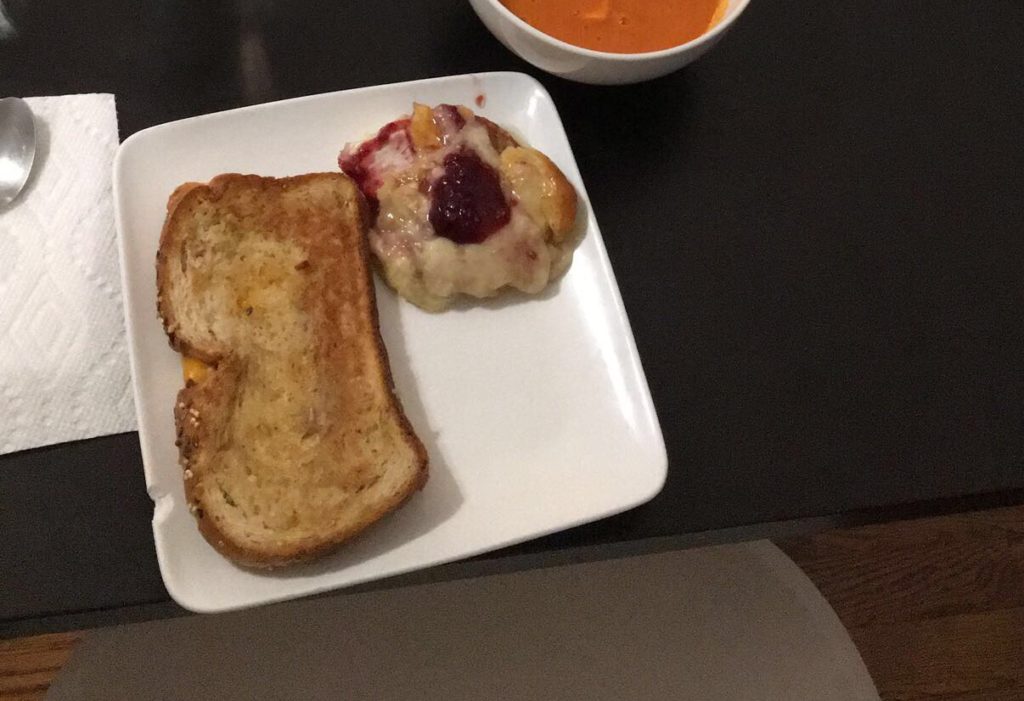
Happy Wednesday! One of my favorite lunch meal at sleep away camp was the day we would have grilled cheese with tomato soup. I was never a big grilled cheese eater as a little kid until sleep away camp. There are so many different ways to reinvent a simple grilled cheese sandwich. For today’s hump day treat I want you all to try either of these combos: sharp white cheddar with avocado ( you add the avocado on top after you obviously melted the cheese) or brie with raspberry jelly. If you are eating it with tomato soup my favorite thing to do is add shaved cheese on the soup while it’s still warm so it melts inside. I know exactly what I am having for dinner tonight :-). Hope everyone had a great day and for those of us in New York City I hope you are enjoying this beautiful weather we are having right now. <3
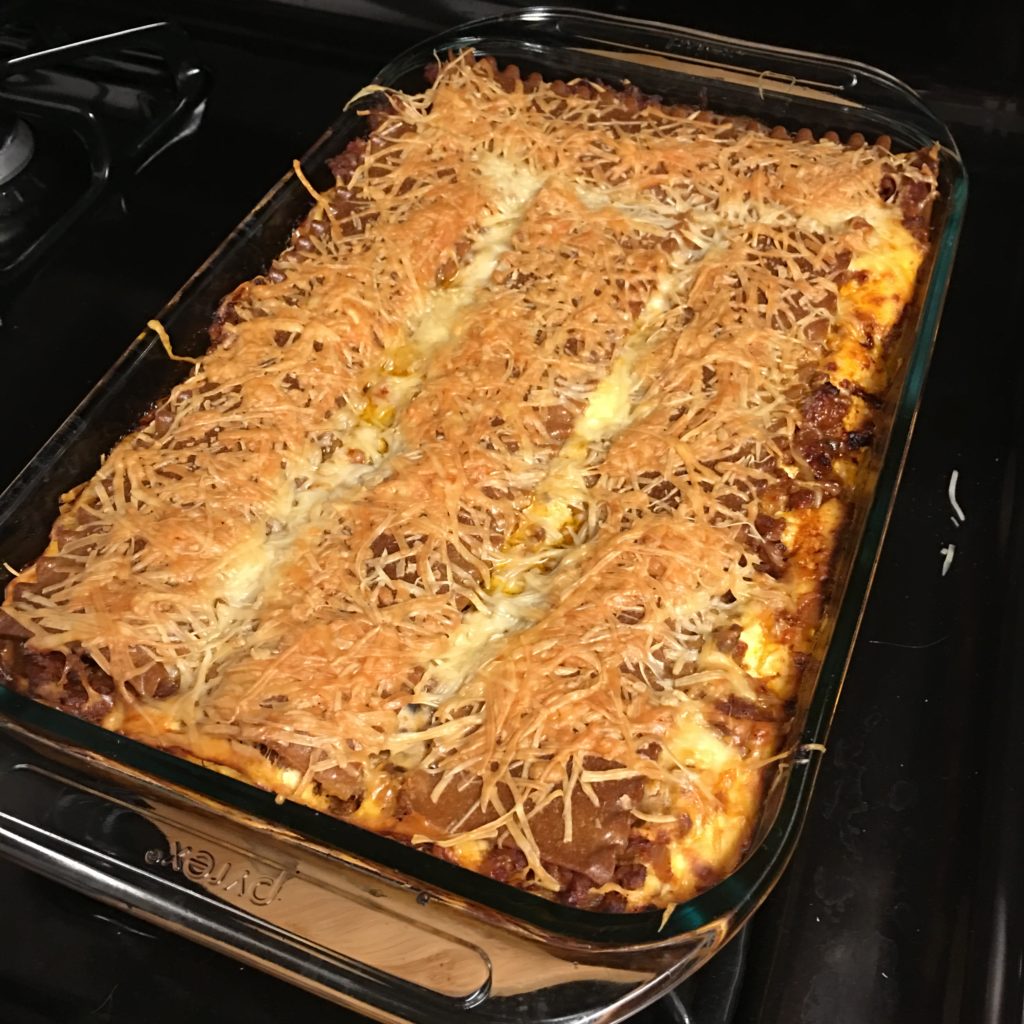
Hump Day Treat: Whole Wheat Lasagna
Hi Everyone! Hope everyone is having a great Wednesday so far and for all of us in New York City is getting back into the swing of things after Stella rolled through yesterday with all of her snow and in some places hail. EEK! One of my favorite things to do on these snow days is to cook a hearty meal that will keep me warm and is something that I can easily heat up the next few days without too much hassle. I love lasagna just like Garfield it is easy to make and something that you can easily reheat in the oven if you want to make sure each layer is fully warm. If you don’t have the time to do that you can simply re heat it in the microwave or simply eat it cold. There is no right or wrong way to re eat lasagna leftovers. Fun fact for everyone I used to think you had to cook the noodles prior to making the lasagna because no one had told me otherwise. However, when I picked up the box of whole wheat lasagna noodles at the store on Monday I discovered that you can simply put the noodles in the pyrex not cooked and it will cook itself while in the oven! An extra step gone from this process. Here is what you need
Ingredients:
-ingredients to make bolognese sauce ( I have previously posted my recipe, but any recipe you may have will work perfectly 🙂 )
-3 cups of ricotta cheese
-12 ounces of shredded mozzarella cheese
-¾ cup of grated parmesan cheese
-2 eggs
-box of lasagna noodles
Directions
1.Cook the bolognese sauce that I previously posted on my blog 🙂
2.Preheat the oven to 400 degrees
3.In a bowl mix the ricotta cheese, mozzarella cheese, ½ cup of parmesan cheese and the 2 eggs. Set aside once it’s fully mixed
4.In a pyrex dish first grease the pan with pam cooking spray
5.Take a large scoop of the bolognese and layer the bottom of the pyrex
6.Top it with lasagna noodles normally its two full noodles
7.After the noodles put thin layer of the cheese mixture normally about 1 ¼ cups
8.Repeat the layers until you are the top of the pan. Once at the top top with the 2 remaining lasagna noodles. If you wish cover the top of the noodles with parmesan cheese
9.Bake in the oven for 30 minutes until hot and bubbling. After taking it out of the oven let it cool for 10 – 15 minutes.
10.Cut into squares and if you wish make some garlic bread and enjoy!
Hope everyone had a fun snow day yesterday and for most of us a great day working from home. Enjoy today’s hump day treat!
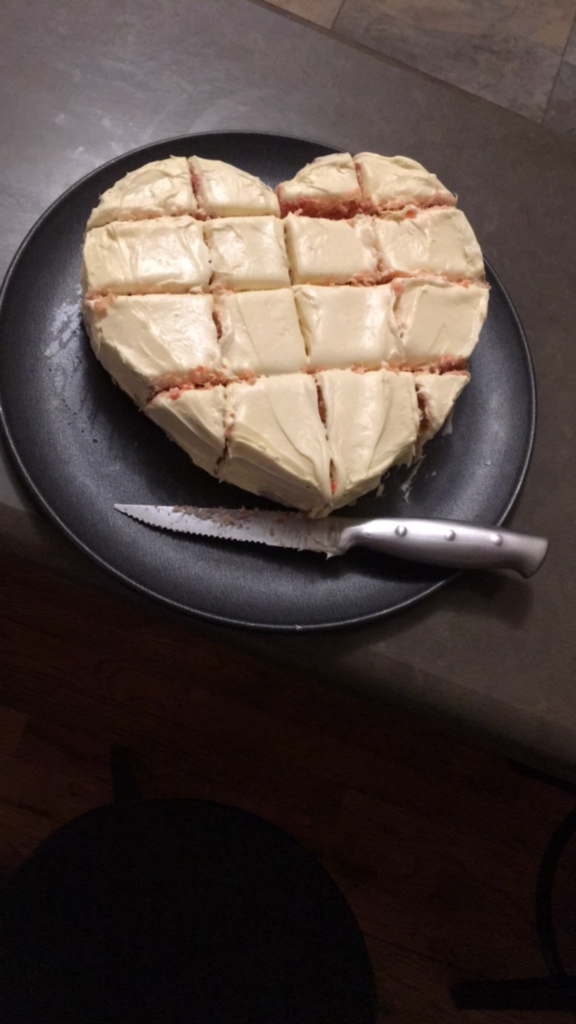
Hump Day Treat – Colored Cake
Happy first day of March everyone! I can not believe that it is March 1st today. This year has truly gone by so fast. When I was in middle school I decided to do a science fair project to see if color really affected how food tasted to someone. Fun fact for all of you… IT DOES! I did this by adding food coloring to vanilla cake mix and having my friends taste two different cupcakes. One with food coloring in it and one without. I had them taste each of the same cupcakes blindfolded then not. Pretty crazy right? Anyways I always thought before this project that if a cake had color in it that it meant it was flavored with whatever color was added. All it takes is a little food coloring to add something special to your dessert. For example this cake pictured in today’s post was simply colored with red food coloring. Now most people assume that if you add red food coloring it will be red, but if you only add a few drops to a white cake mix it will turn your cake pink and not red. If you have seen all those amazing ombre colored cakes on Pintrest this is what they all do. Make one cake with one drop of food coloring of you choice then the second one with 3 – 4 and then depending on how many layers you want continue up. This way each layer gradually is a darker shade of whatever color that you use. I hope you all are having a great week so far and for those of us in NYC enjoying this crazy weather we are having. Anyone else ready for some snow? I am most definitely not! Enjoy today’s hump day treat of fun facts<3
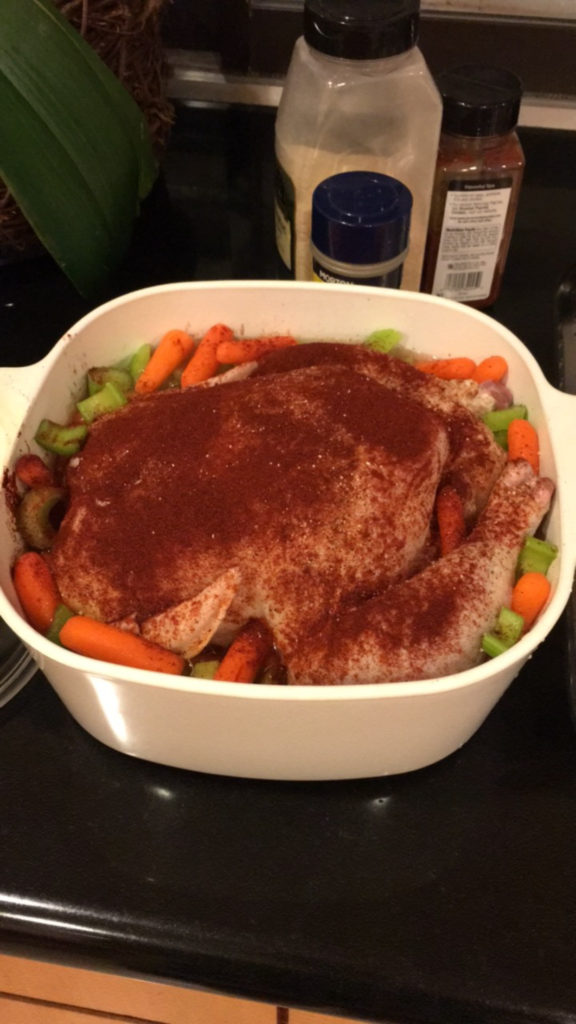
Hump Day Treat – Chicken in The Pot
Happy Wednesday! Sorry I have been so MIA here on Just Jodi Style. I flew last weekend to Scottsdale to see one of my best friends get married. I also had the honor of signing her Ketubah which when she asked me to do it I cried in the middle of SoulCycle. Thanks Sara <3. Anyways I am finally back in New York and ready for the week. When I was younger my Mom always cooked us dinner during the week on top of working every single day. We all had our favorite meals that she would cook us and this one was one my favorites. She always made up names for the dishes she made since we were young and didn’t fully understand everything. This dish she called chicken in the pot. It is a whole chicken that you put into a dish as shown in the image above called a deep dish corning-ware or you can also make this in a crock pot! I have done that as well before and it is delicious. Here is what you need:
Ingredients:
1 package of baby carrots
1 package of celery
1 whole chicken
Paprika
Garlic salt
Morton’s Seasoning
1 small spoon of crushed garlic
1 deep dish corning-ware (size depends on the size of the chicken you wish to cook)
Instructions
1.Heat the oven to 350 Degrees.
2.Clean out the chicken and pat it dry. Then place it in the deep dish corning-ware or crock pot.
3.Take the celery and cut it up into small pieces. Once the chicken is in the deep dish corning-ware or crock pot scatter around the celery and carrots. You can also place some inside the chicken. Once this is done then take one small spoon of crushed garlic and put it on the inside of the chicken.
4.Once you have added all the veggies and the crushed garlic cover the whole top of the chicken with paprika seasoning. Then add a dash of the garlic salt and a dash of the morton’s seasoning.
5.If your chicken doesn’t have one of those poppers to tell you when it’s done please be sure to add it now. This is important in order to know when your chicken is fully cooked.
6.Take a measuring cup and fill the dish with water just to the point that it’s not covering the chicken. I’d say about close to half way up the chicken.
7.Place chicken in the oven. Make sure if you are using a dish like the one in my image that you cover it as well as your crock pot for it to cook.
8.Depending on how large the Chicken is it will take at least 3 – 4 hours to cook.
9.While the chicken is cooking I would cook your sides. I personally love white rice and peas with this dish.
10.Once the popper has popped on your chicken you are ready to go! It should be moist and if you cooked it in a crock pot the chicken usually just falls right off the bone.
Hope you all enjoy!!!
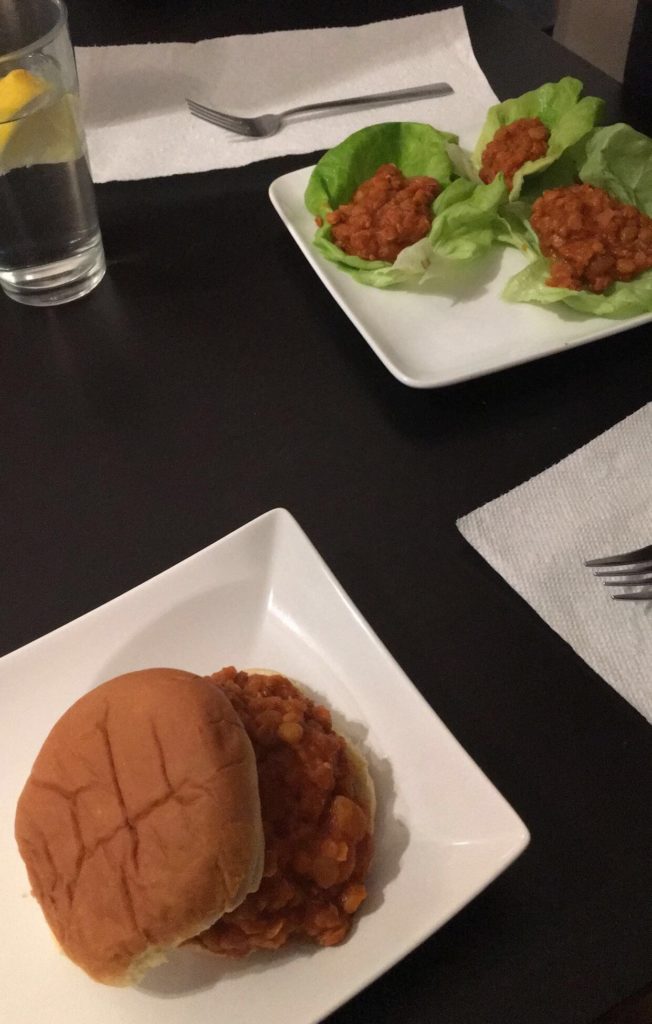
Hump Day Treat – Vegan Sloppy Joe’s
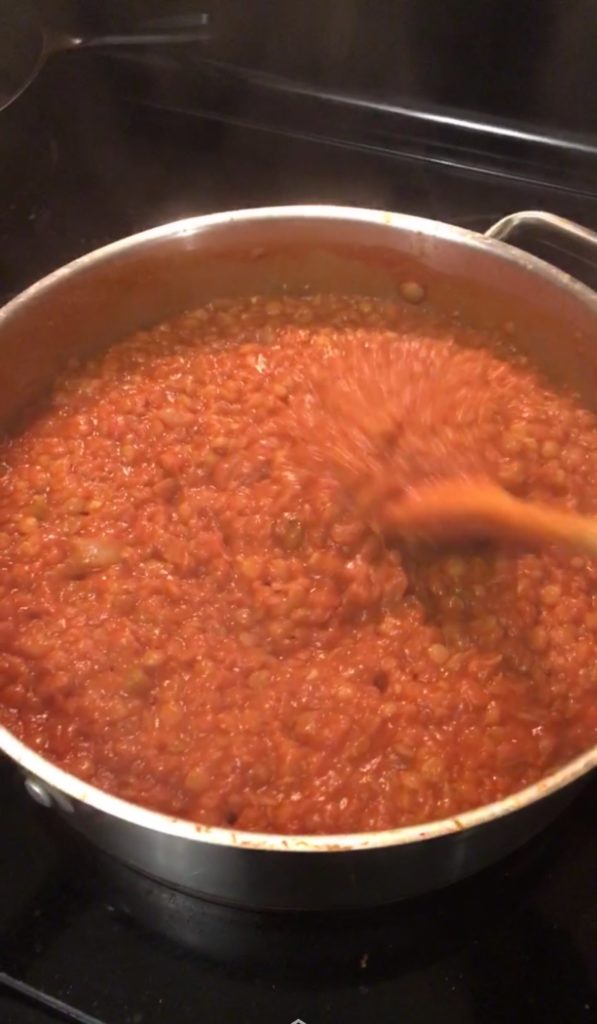
Happy Wednesday! For today’s hump day treat I wanted to share a recipe that everyone has been asking me about since I posted it in my instagram story on Monday night. For those of you who were asking they are vegan sloppy joe’s. You read that right vegan sloppy joe’s! I personally have only had sloppy joe’s maybe twice in my life and that was during summers at sleep away camp, but I had never had vegan sloppy joe’s until recently. A group of my friends we all get together every Monday night to watch The Bachelor and all the other shows including The Bachelorette and Bachelor in Paradise. My friend Ashley is a vegetarian and one of our other friends Riki is also vegetarian, but on top of that is gluten and dairy free. We all take turns making different dishes, but it has been a challenge finding something that everyone will and can eat. This dish that Ashley made is probably one of my favorites and is so filling that I personally didn’t even eat dessert! That is something that is very abnormal for me if you know me well. Here is what you need to make these delicious vegan sloppy joe’s:
Ingredients: (serves about 6)
1 tablespoon extra virgin olive oil
1 small onion, diced
1 red or yellow sweet pepper, diced
2 sticks of celery, finely chopped
1 teaspoon ground cumin
1 teaspoon chilli powder
1 cup (200g) French lentils
1- 28oz (796ml) can tomato sauce
3 tablespoons tomato paste
1 teaspoon Sriracha sauce
1 teaspoon salt
2 teaspoons balsamic vinegar
6 whole-wheat or sprouted grain buns, sliced in half or you can also use lettuce cups instead!
*If you want add additional toppings such as avocado, cheese, pickles, or sliced onions. Whatever you want!
Directions
1.Heat the olive oil in a medium, heavy-bottomed pot over medium heat.
2.Add the diced onion, pepper and celery. Cook for about 5 minutes and stir it all around until they are soft.
3.Then sprinkle in the cumin and chilli powder. After this let it cook for about a minute.
4.Add the lentils. Mix everything around.
5.Then add 3 cups of water, tomato sauce, tomato paste and sriracha. Mix it all around
6.Increase the heat to high and bring everything to a simmer. Cook this way for about 30 minutes uncovered stirring occasionally. If you notice that the level falls below the lentils then you can add more water.
7.Now do a taste test and if they lentils are tender then add salt and balsamic. Stir it all together and let it cook for one more minute after stirring.
8.Then serve and enjoy!
Hope you guys enjoyed today’s recipe! If you are in New York City like I am hope everyone is ready for the snow storm we are about to have tomorrow 🙂 <3
Here is the link to the full recipe as well Vegan Sloppy Joe’s
Hump Day Treat- Superbowl Ready
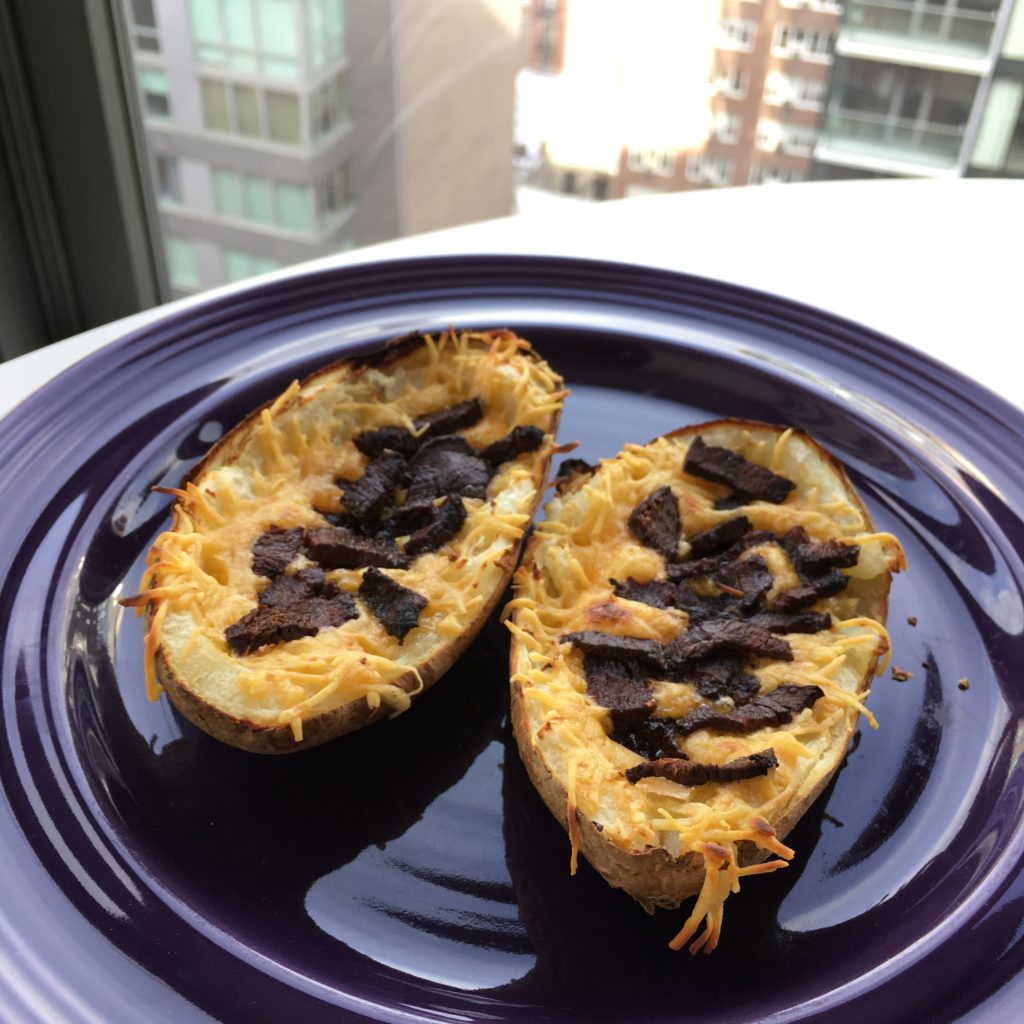
Happy February!! With Superbowl being this Sunday I thought that I would share with you a recipe that all of your guests would enjoy. I have added a little twist to the simple potato skins. Now as a kid I never really liked bacon. I know crazy right! However, recently I have discovered my love for Duck Bacon. Yes you read that correctly Duck Bacon. It was in my local Fairway Grocery store and it is delicious. Here is what you need to make these most delicious potato skins.
Ingredients:
4 – 6 Idaho potatoes depending on how many people you are having
1 package of duck bacon
1 chives
1 sour cream
1 package of sharp cheddar cheese ( I purchased kraft that was already shredded)
Directions:
1.Preheat the oven to 400 degrees
2.On a cookie sheet put down some aluminum foil. Pierce your potatoes all over. Line the aluminum foil with baking spray. Place the pierced potatoes on the cookie sheet and put them in the oven for an hour. (They should be able to be pierced with a fork)
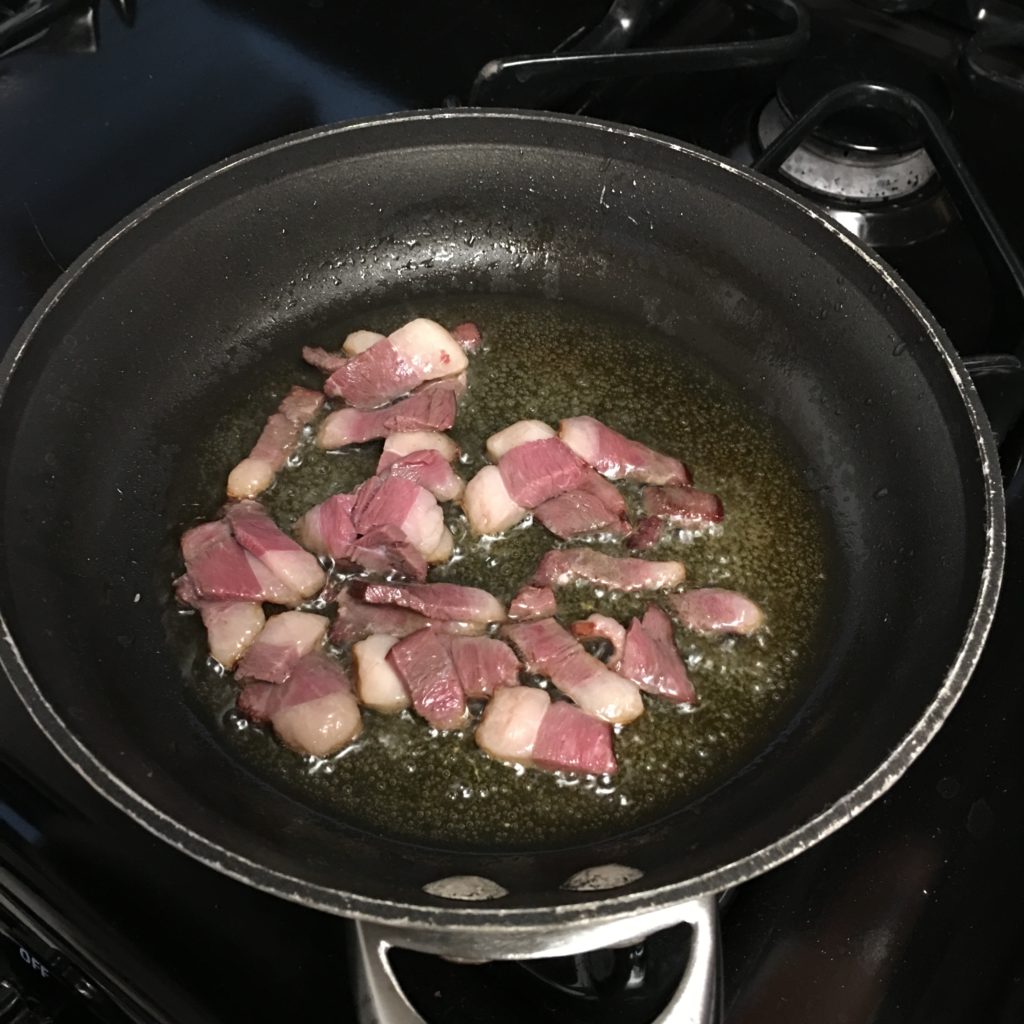
3.When the potatoes have about 10 minutes left in the oven cut up the Duck Bacon into small pieces and fry them in a pan until crispy. Turn the heat down so they stay warm.
4.Once potatoes are done remove them and let them cool down for about 10 minutes.
5.Once they are cooled down cut them half lengthwise. Then scoop out the center not so that you see the bottom of the skin just enough so you can fill it with the cheese and bacon. You can use the excess potato insides for mashed potatoes or even gnocchi!
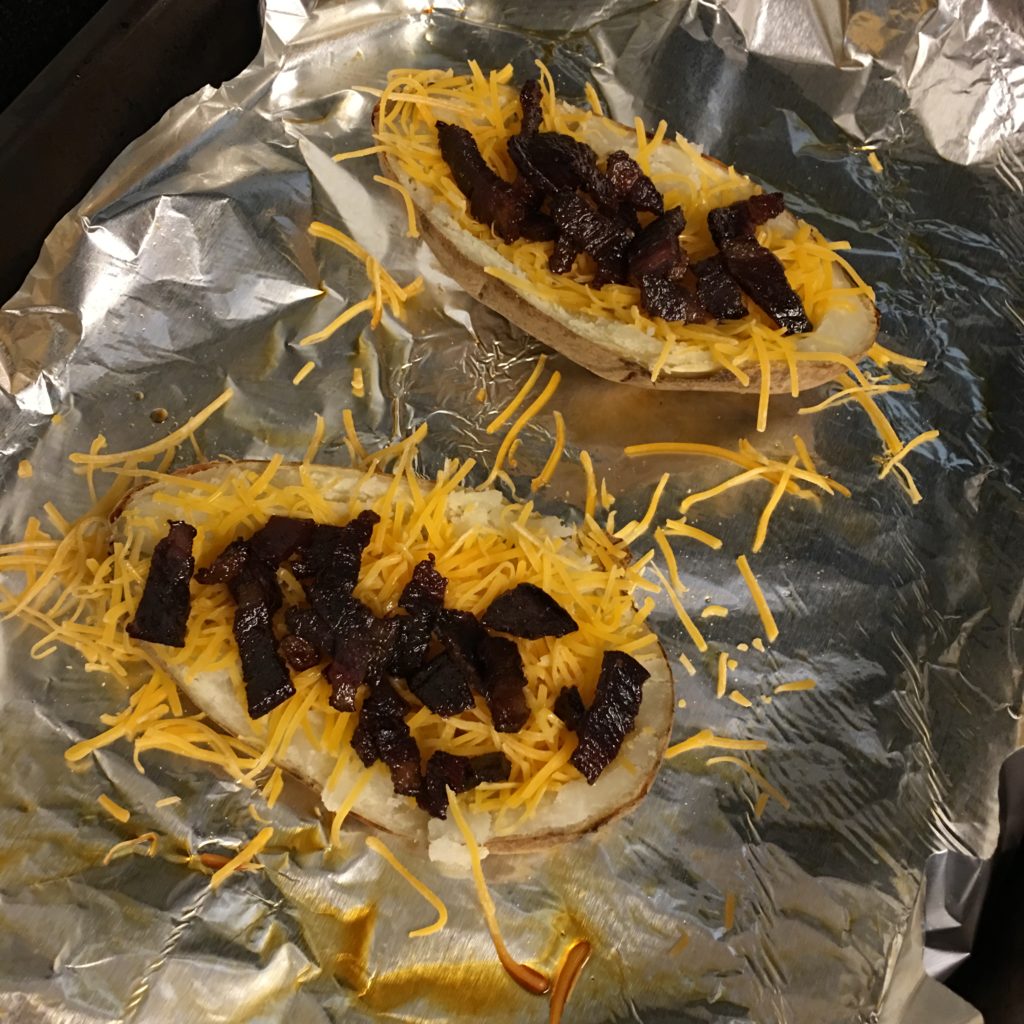
6.Put the sliced potatoes back on the same cookie sheet they just came off of. Cover them with cheese and the bacon. Put the broiler on in the oven and place them inside. I left mine in the oven for about 8 minutes even though the cheese was bubbling.
7.Remove from the oven and if you want cut them in half depending on if you want them into smaller bite sized treats.
ENJOY!!!!!